|
| Jack playing in his nursery |
I had planned to post this a long time ago, but life took over! Since we rent our home, I did not want to go too wild with decorating Jack's nursery. I considered a superhero theme, because his dad is a huge fan of Batman, but decided it would be more fun to wait on that one until he's able to enjoy it. Really the nursery is for the mom...right?
Blank Slate
|
|
| The empty room - soon to be the nursery |
So I started with a blank slate - light beige/yellow walls in a teeny-tiny room, where we stored our wrapping paper.
 |
"Online" From
Sherwin Williams |
The first thing I did was select a color for the room. We were pretty sure that Jack was a boy when I was pregnant, but I wanted a color that would work either way just in case. I also wanted to use a version of gray.
Sherwin Williams has dozens of grays to sort through, but I really liked the "
online" and "cyberspace" colors. My husband thinks the names are obnoxious, but the color “online” has a light blue hue to it that is subtle and nice.
Selecting a Theme
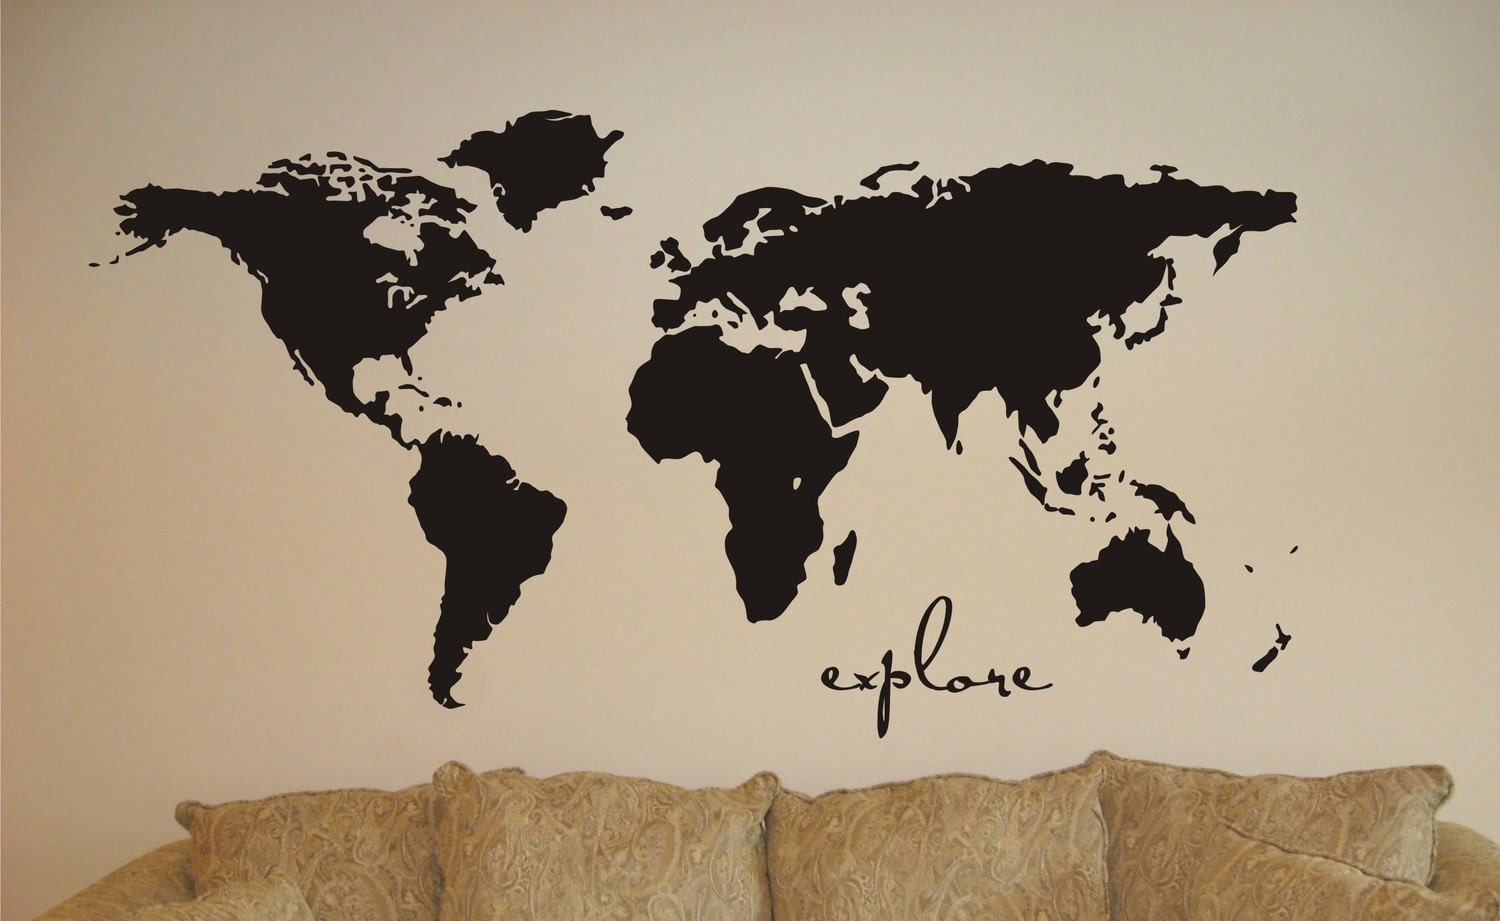
Next it was time to make a decision on a theme. I decided to go with "explorer," because we like to travel, hike and explore. (Certainly Jack will too!).
I purchased a wall decal of a map from this etsy shop "
Is handmade Creations."
I chose white, because I thought it would compliment the wall color. She has tons of colors to choose from!
 |
| The white goes well with the gray color |
Choosing a Crib
When choosing a crib, I wanted something affordable and safe. I also wanted something that looked nice. This crib was a great decision! It looks expensive. We got the espresso color. We actually purchased this
Storkcraft Tuscany 4-in-1 Stages Crib – Espresso from Babies-R-Us when it was on sale and used gift cards to pay for the rest, so it turned out to be a great deal for us. It also turns into a toddler bed and eventually can be used as a full sized bed. We’ll see how it lasts!
Gliding into Parenthood
My husband was adamant that we needed a glider, not a rocker. I was not impressed with the price--many of the gliders out there are more expensive than our crib. I liked the
Stork Craft Hoop Glider and Ottoman, Espresso/Beige on Babies-R-Us, but then found it for almost $60 cheaper on Amazon.com (not to mention free shipping with AmazonMom!)
The Inexpensive Accessories

I didn’t want to purchase a dresser yet so we used this white cube shelf from target that we had in our entryway. I just purchased some red and blue cubbies to hold Jack’s clothes and put his books on the bottom shelf, so he’ll be able to look through them when he’s mobile.
I found the changing table on craigslist for $40. Ironically, it’s my son’s favorite place in the whole world!

The small side table was from a fun furniture/craft sale . It was an antique that was repainted and distressed. (Another $40 purchase).
I purchased the baskets from Michaels at a two-for-one sale. And the frames were all 50% off. I then printed black and white photos of our family hiking. Continuing explorer theme, I framed map and postcard scrapbook paper.
The painting above the changing table is one I did a while ago, but we framed it.
The shelf is from Lowes. The small planes are from Michaels. My husband put them together and hung them over the map with fishing wire and wall clips.
The "Jack" letters are from Michaels. To hang them up straight, I used a trick I saw online and used lined wrapping paper to lay out the letters how I wanted them on the ground. Then I hung the wrapping paper to position the nails in the right place. Then it was easy to put the letters up with the correct spacing.